
Tip & Trick
Microsoft Word remains the go-to tool for documents, yet most users miss its most powerful features. These 10 hidden tips and tricks will transform your workflow, save hours, and make you a productivity powerhouse in Word.
Quick Parts Gallery for Reusable Content Blocks
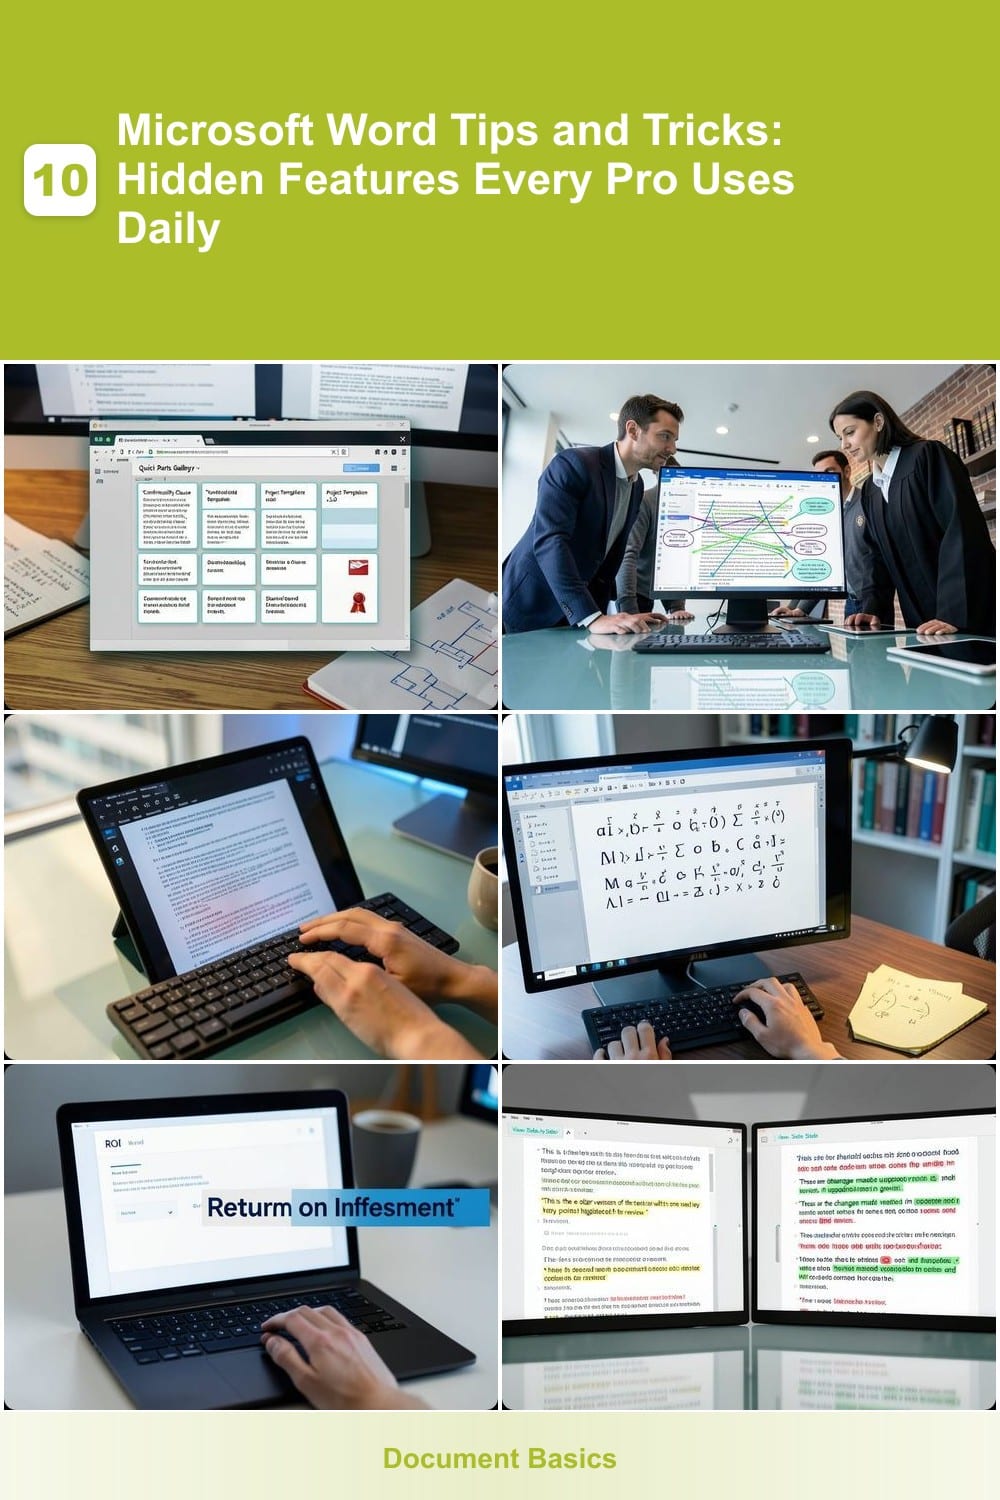
Tired of retyping the same disclaimers, legal clauses, or project templates every time you start a new document? The Quick Parts Gallery in Microsoft Word lets you save frequently used text, tables, or graphics as reusable blocks—then insert them with a simple keyboard shortcut. Think of it as your personal clipboard for boilerplate content, perfect for legal teams drafting contracts, HR professionals handling onboarding docs, or marketers sending branded proposals.
To get started, type your standard text (like a signature block or confidentiality notice), then highlight it and click Insert > Quick Parts > Save Selection to Quick Parts Gallery. Assign a shortcut (e.g., Ctrl+Alt+Q) to auto-insert it later. You can even organize blocks into folders for better workflows. Pro tip: Use this for tables, logos, or frequently cited sources—no more hunting through old files or manually copying text.
This is a game-changer for professionals who work with repetitive content. Try it today and reclaim hours of typing time every month. ✨
Track Changes with Custom Highlighting Colors

Collaborating on documents with multiple reviewers can turn into a chaotic mess of overlapping redlines—unless you use Track Changes with custom highlighting colors. Instead of default red marks, assign unique colors (like green for legal edits, purple for academic feedback) to distinguish each stakeholder’s input instantly.
Enable this by selecting Review > Track Changes > Highlight Changes, then choose Customize to assign colors per reviewer. For example, mark client suggestions in blue, editorial notes in yellow, and author revisions in pink. This visual clarity speeds up approvals and reduces back-and-forth emails—critical for legal teams drafting contracts or academic researchers refining papers.
Perfect for workflows where clarity trumps clutter, this trick transforms messy feedback into a structured, color-coded roadmap. 💡
Keyboard Shortcuts for Navigation Speed

Struggling to scroll through 50-page reports like a snail? Keyboard shortcuts turn Word into a speedboat—no more mouse fatigue or lost cursor battles. These 10 power moves (like Ctrl+Alt+Page Down to zip between headers/footers) cut navigation time by 90%, especially for technical writers or journalists drowning in dense content.
Start with Ctrl+F4 to close documents instantly, Alt+Shift+O for Outline View (perfect for reorganizing sections), and Ctrl+Shift+F to find/replace across the whole doc. Pro tip: Ctrl+Alt+Page Down/Up lets you skip between headers/footers like a pro—no more endless scrolling. For tables, Alt+Home jumps to the first cell, while Alt+End lands you at the last one in seconds.
These shortcuts are game-changers for anyone editing lengthy documents daily. Try them in your next project and watch your workflow transform—your future self will thank you. ⚡
Convert Text to Mathematical Equations

Struggling to type complex equations by hand or remember LaTeX syntax? Microsoft Word’s Equation Editor turns your rough drafts into polished, publication-ready math in seconds—no coding required.
Simply press Alt + = to open the editor, then type or select symbols from the palette (e.g., Greek letters, integrals, fractions). For handwritten notes, use OneNote integration to digitize sketches before converting them to equations. The tool even auto-formats alignment and spacing, so your ∑(x²) = n(n+1)(2n+1)/6 renders crisply every time.
Perfect for students cramming for exams, engineers documenting calculations, or researchers preparing papers—this feature cuts formatting time by 80%. ✨
AutoCorrect for Custom Abbreviations

Tired of typing out the same acronyms repeatedly? AutoCorrect for Custom Abbreviations lets you define your own shortcuts—like turning "ROI" into "Return on Investment" instantly—so you never waste time expanding industry jargon again.
To set it up, head to File > Options > Proofing > AutoCorrect Options, then add your abbreviations in the "Replace" and "With" fields. For example, type "FT" to auto-expand to "Further Testing Required" in IT docs or "HIPAA" to "Health Insurance Portability and Accountability Act" in healthcare files. This trick shaves minutes off daily reports, especially for professionals drowning in acronyms.
Perfect for finance teams crunching numbers, IT support docs, or medical scribes—anyone who deals with dense terminology. Try it today and reclaim your typing speed! ✨
Split Screen for Compare Documents
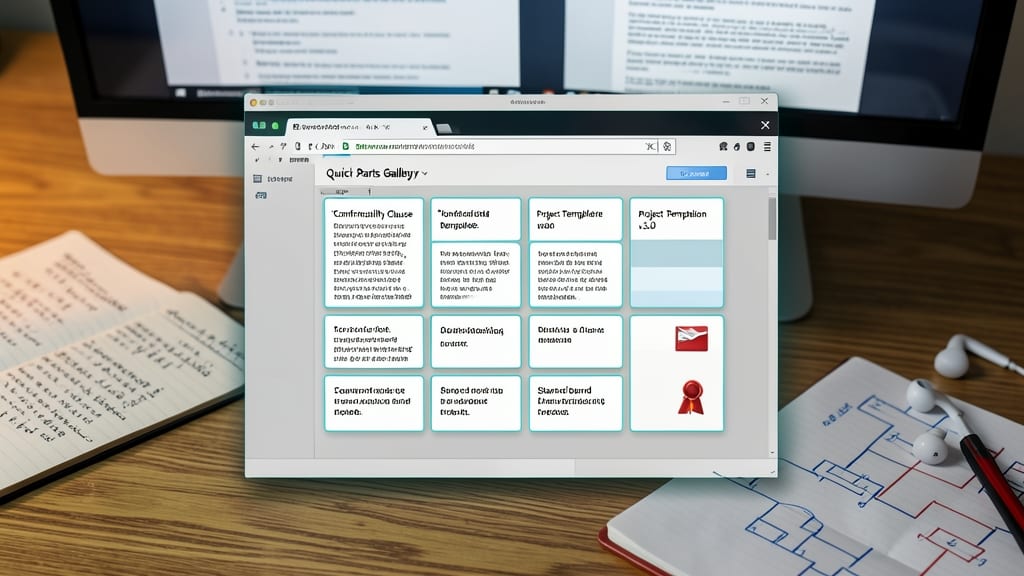
Ever struggled to spot differences between two versions of the same document? Microsoft Word’s View Side by Side feature lets you open two documents simultaneously in a split-screen layout, with synchronized scrolling to highlight changes effortlessly.
To activate it, go to View > View Side by Side (or press Alt + W, V, S). The feature automatically adjusts window sizes and keeps both documents in sync as you scroll—perfect for editors comparing drafts, lawyers reviewing contracts, or project managers tracking revisions. You can even resize the panes to focus on specific sections.
This trick is a lifesaver for professionals who juggle multiple versions of the same document. No more flipping between tabs or printing out hard copies—just real-time comparison at your fingertips. ✨
Text to Speech for Proofreading
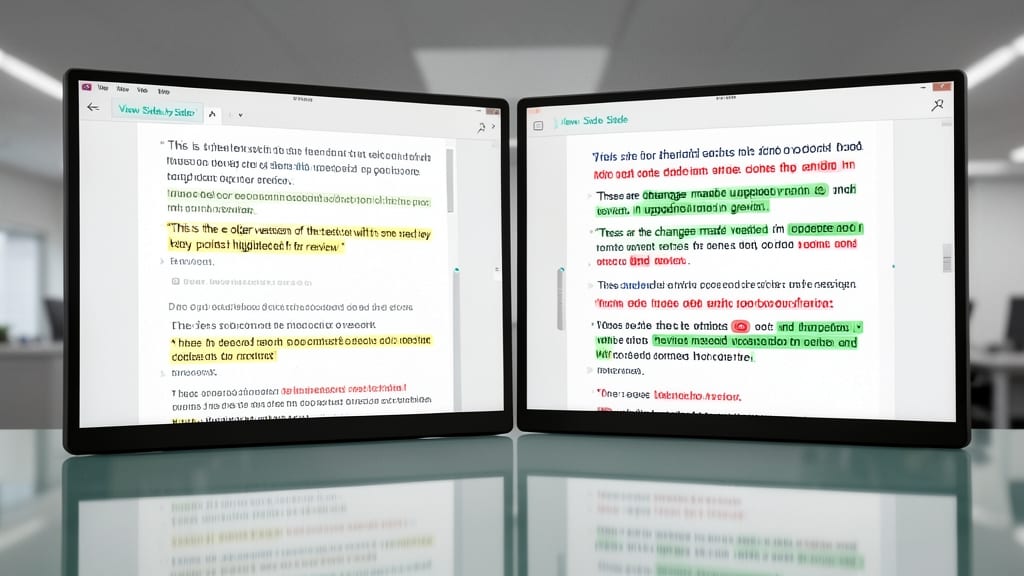
Struggling to spot awkward phrasing or grammatical quirks in your writing? Microsoft Word’s built-in Text to Speech (TTS) feature lets you listen to your document aloud—ideal for catching errors you’d miss on screen. Simply navigate to Review > Read Aloud and let Word’s natural-sounding voice guide you through your work.
The feature supports multiple voices and speeds, including male/female options and adjustable playback rates. Pair it with Immersive Reader (available in Word Online) for added clarity, with features like line focus and dyslexia-friendly fonts to enhance readability. Perfect for non-native English speakers or busy professionals who need hands-free proofreading.
This trick is a game-changer for executives drafting emails, students editing essays, or anyone who benefits from auditory feedback. Give it a try—your ears might catch what your eyes missed! ✨
Customize Quick Access Toolbar
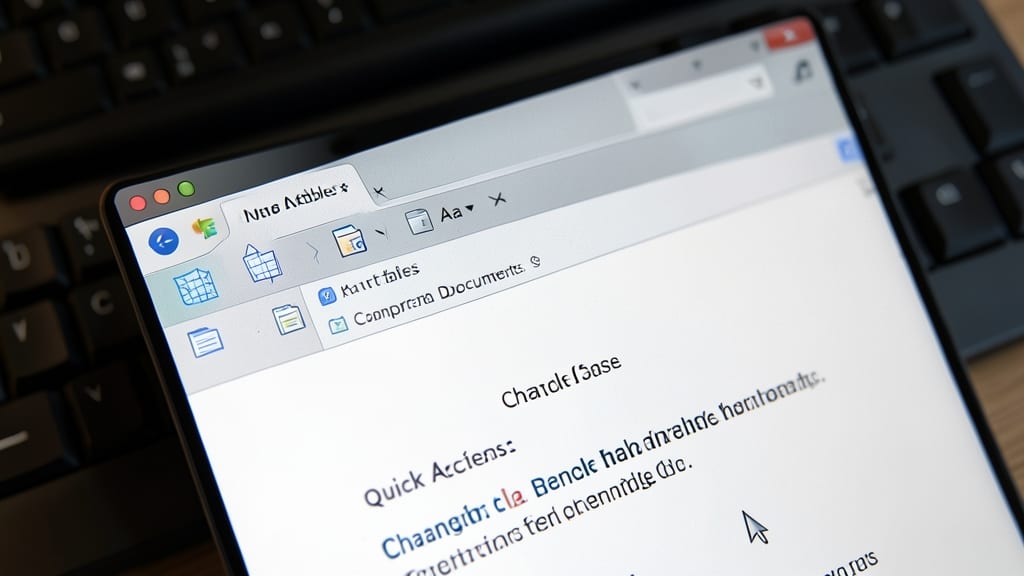
Tired of hunting through menus for commands like Insert Table or Change Case? The Quick Access Toolbar lets you pin your most-used actions to the top of Word’s interface—turning multi-step tasks into single clicks.
Right-click the toolbar to customize it: add commands like Compare Documents, Insert Screenshot, or Zoom. You can even rearrange icons or reset to defaults. For data analysts, try adding Sort Table or Remove Duplicates; writers might prefer Change Case or Insert Cover Page. The toolbar syncs across devices if you use OneDrive.
This trick is a game-changer for anyone who repeats the same actions daily—whether you’re formatting spreadsheets or drafting reports. ⚡
Insert Screenshots Directly from PC
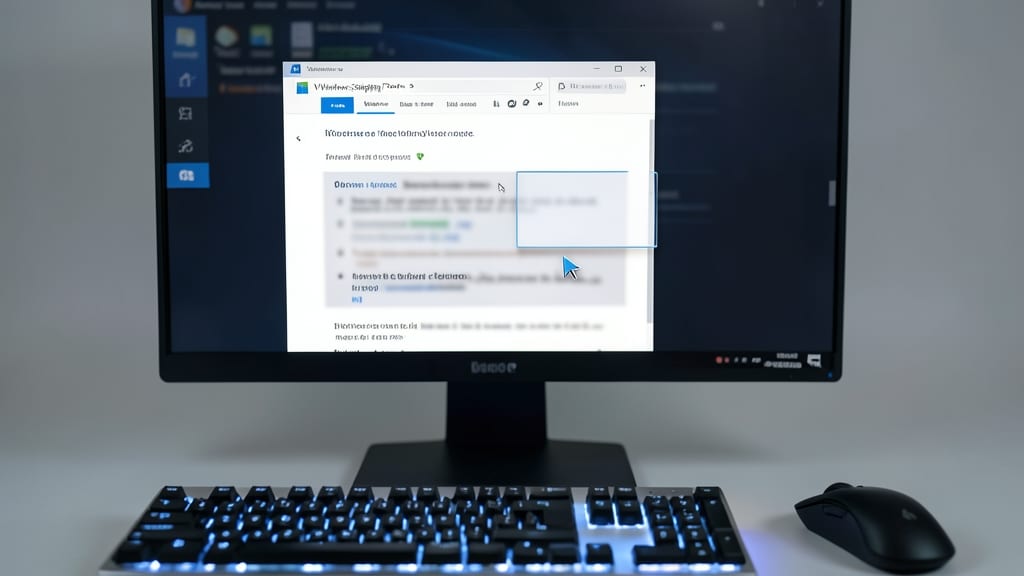
Need to illustrate a tech guide or tutorial but don’t want to switch apps? Microsoft Word’s built-in snipping tool shortcut (Windows + Shift + S) lets you capture and embed screenshots directly into your document—no third-party tools required.
After pressing the shortcut, your screen dims and a floating toolbar appears. Select the area you want to capture (rectangular, freeform, window, or fullscreen), then Word pastes the screenshot as an image you can resize, annotate, or crop. This feature works seamlessly with Windows 10/11 and integrates perfectly with Word’s editing tools, making it ideal for IT documentation or step-by-step instructions.
Perfect for tech writers, trainers, or presenters who need to document software interfaces or troubleshooting steps without losing flow. ⚡
Document Properties for Metadata Management
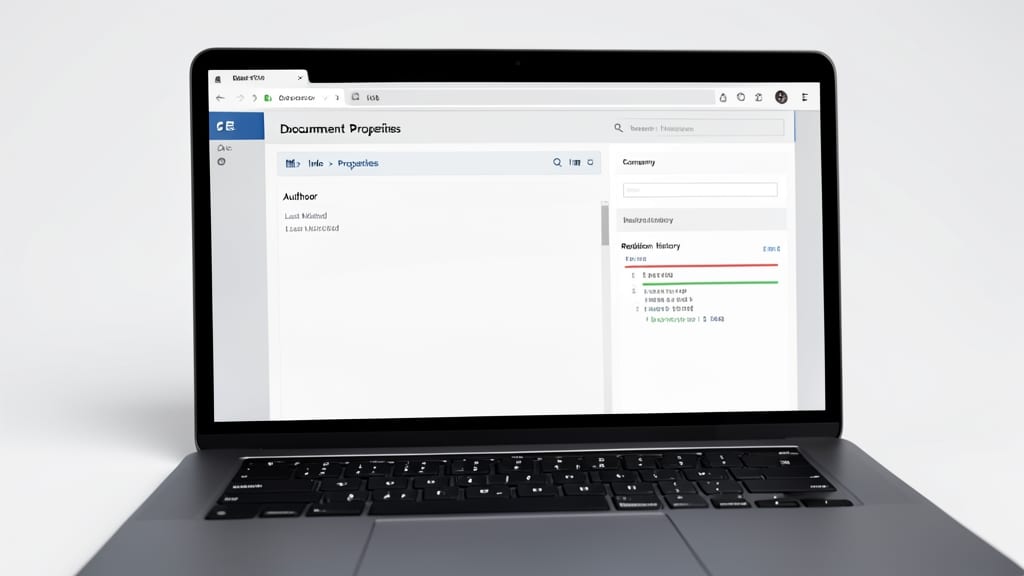
Ever wonder who really created that document or when it was last edited? Document Properties in Word lets you control hidden metadata—like author names, company details, and revision dates—that could expose sensitive info if shared carelessly.
Access this via File > Info > Properties, where you can edit fields like title, subject, keywords, and custom fields. For security, clear personal data before sharing (e.g., Ctrl+Alt+S to check metadata before sending). Government agencies and legal teams use this to enforce consistent branding across documents while protecting confidentiality.
This is your secret weapon for professional consistency—whether you’re drafting contracts or ensuring compliance. ✨