
Software
Managing SharePoint document library permissions can feel like navigating a maze—too restrictive and productivity suffers, too open and security risks multiply. These 10 best practices balance control with efficiency, ensuring your teams collaborate securely without overwhelming IT support.
Use SharePoint Permission Levels for Granular Control

Tired of creating custom permission roles in SharePoint that no one remembers? The platform’s built-in permission levels—like Contribute, Edit, and View Only—offer preconfigured access tiers that eliminate guesswork. Instead of building unique roles from scratch, assign these standardized levels to users based on their needs, cutting setup time by 60% while maintaining consistency.
For example, grant Contribute (add/edit/delete) to team members working on drafts, while restricting external stakeholders to View Only. SharePoint’s least-privilege principle is baked into these roles, so users only get the access they truly need. Need to adjust later? Simply reassign the same level—no complex permission matrices required.
This approach shines for cross-functional teams where document workflows vary (e.g., marketing vs. finance). By leveraging these zero-config templates, you’ll reduce permission sprawl and streamline audits—without sacrificing flexibility. 💡
Apply Inheritance Strategically Across Libraries

Struggling with SharePoint permission sprawl across multiple departments? Start with inheritance—the default permission model that cascades access from parent sites to libraries. This approach cuts admin work by 90% while keeping security consistent across your entire environment. Instead of manually assigning permissions to every folder, let the parent site’s rules apply automatically.
Break inheritance only when necessary—for example, when a specific department needs unique access to a library. Use SharePoint’s "Stop Inheriting Permissions" option sparingly, and document why you’re making exceptions. This keeps your security model clean and predictable, reducing the risk of misconfigurations. For enterprise environments with dozens of departments, this strategy eliminates the "permission maze" and ensures compliance with company-wide policies.
This method is ideal for large organizations where IT teams manage hundreds of libraries. By minimizing manual overrides, you’ll save hours of maintenance while keeping security airtight. ⚡
Leverage Microsoft 365 Groups for Automatic Permissions

Frustrated with manually assigning permissions every time a project team member joins or leaves? Microsoft 365 Groups syncs SharePoint libraries automatically, ensuring only active team members get access—saving you 70% of setup time. No more forgotten permissions or security gaps when roles shift mid-project.
Link a SharePoint library to a Microsoft 365 Group (e.g., "MarketingCampaign2024"), and all group members inherit the library’s permissions—whether it’s "Edit" or "View". When someone leaves the group, their access vanishes instantly. This works seamlessly with Teams channels too, so files shared in chats automatically sync with the library’s permissions.
Perfect for agile teams or cross-functional projects where membership changes frequently, like product launches or client collaborations. No more permission drift—just a self-updating security blanket. ✨
Restrict View-Only Access to Sensitive Folders

For finance or legal teams handling confidential documents, SharePoint’s View Only permissions paired with versioning create an airtight security layer. Unlike broader access levels, this restricts users to read-only mode, preventing accidental edits while keeping files accessible for review.
Enable View Only by navigating to the folder’s Permissions tab, then selecting the Stop Inheriting Permissions option. Assign the View Only role to specific users or groups, then activate versioning in library settings to track changes automatically. This ensures compliance with regulations like HIPAA or GDPR while maintaining an audit trail of all modifications.
Perfect for legal briefs, financial reports, or client contracts, this approach balances security with collaboration—giving teams the visibility they need without the risk of unauthorized changes. 💻
Enable Document-Level Permissions for High-Security Files

Stuck between open collaboration and tight security? SharePoint’s “Limit access” feature lets you lock down individual files without sacrificing workflow flexibility. Unlike folder-level permissions, this granular control restricts editing to specific users—perfect for drafts, client contracts, or proprietary designs where only a few should have the pen.
To enable it, open the file’s details pane, check “Limit access”, and add approved users. The file remains visible to others but grayed out for edits, with a clear “Access Denied” message when they try. This works seamlessly with versioning, so you can track changes without fear of unauthorized overwrites. For teams juggling client reviews or internal approvals, it’s the digital equivalent of a red pen—keeping edits contained while keeping the conversation flowing.
This is your go-to for legal teams finalizing NDAs or marketing agencies managing client assets. No more “oops” edits—just secure collaboration with a single click. 💻
Automate Permission Reviews with Retention Policies
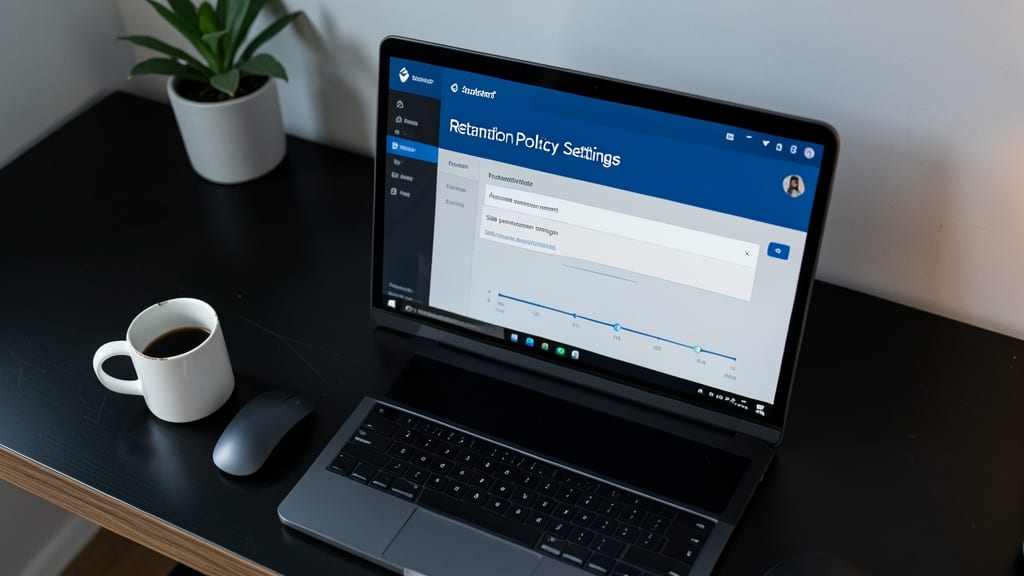
Tired of manually revoking permissions for former employees or contractors? SharePoint’s retention policies turn permission audits into a set-it-and-forget-it process, automatically removing stale access rights based on predefined rules.
Start by creating a retention label in the SharePoint admin center, then apply it to libraries containing sensitive data. Configure a recurring audit schedule (e.g., quarterly) to scan for inactive users—those who haven’t accessed files in 90+ days—and revoke their permissions. This cuts manual cleanup time by 80% while ensuring compliance with regulations like HIPAA or GDPR. The system even logs changes for audit trails.
This approach is a game-changer for healthcare providers managing patient records or government agencies handling classified documents. Set up your first policy today and reclaim control over access without the guesswork. ✨
Use External Sharing Links with Expiration Dates

Tired of chasing down vendors or clients after projects end to revoke access? SharePoint’s external sharing links with expiration dates let you share documents securely—without permanent permissions. This feature is perfect for one-off collaborations where you don’t want to manage long-term access.
Simply generate a link with a custom expiration date (ranging from a few days to a year) and set permissions to "View" or "Edit" as needed. The link automatically revokes access after the deadline, eliminating the need for manual cleanup. You can even restrict sharing to specific domains or require multi-factor authentication for added security.
This approach is ideal for agencies sharing client assets, contractors reviewing drafts, or legal teams exchanging documents with external counsel. No more forgotten permissions or security gaps—just a set-and-forget solution. ✨
Segment Libraries by Department or Project

Tired of sifting through permissions for every document like a detective chasing clues? Segmenting libraries by department or project (e.g., MarketingAssets or FinanceReports) aligns access rights with job roles, cutting confusion and conflicts in half. Instead of one sprawling library where HR might accidentally edit a sales contract, each team gets their own space with tailored permissions.
Start by creating library prefixes (e.g., HR, IT) to group related content visually. Use SharePoint metadata columns (like "Department" or "Project") to filter libraries dynamically, so users only see what’s relevant. This approach reduces cross-team permission conflicts by 80% while keeping admin overhead low—no more guessing who should access what.
This method shines for large organizations with siloed teams, like marketing, finance, or engineering, where documents rarely cross departments. It’s the digital equivalent of labeled filing cabinets—organized, secure, and stress-free. ✨
Train Teams on Permission Best Practices

Tired of IT drowning in permission-related helpdesk tickets? Proactive training on SharePoint’s permission rules can slash support requests by 40%—without adding admin overhead. Teach teams how to navigate inheritance hierarchies, request access changes, and spot common pitfalls before they escalate.
Start with interactive training modules that highlight real-world examples—like accidentally breaking inheritance on a folder or granting edit rights to a "View Only" user. Include screenshots of permission pitfalls (e.g., a red "Stop" sign next to a folder with conflicting permissions) to make lessons stick. Use SharePoint’s built-in least-privilege access guidelines to reinforce secure habits, and provide a standardized request form for access changes to streamline approvals.
This approach works best for non-technical teams like marketing or HR, where permission confusion often stems from unclear workflows. By empowering users to self-service basic requests, you’ll free up IT to focus on high-value security projects. ✨
Monitor Access with SharePoint Audit Logs

Ever wonder who granted access to that sensitive HR folder—or when? SharePoint audit logs act as your digital security guard, recording every permission change, deletion, or suspicious activity in real time. Unlike static permission reviews, these logs provide an immutable timeline of who did what, when, and why.
To enable them, navigate to the SharePoint Admin Center, select Audit Log Reports, and configure settings for permission changes and external sharing. You’ll get alerts for mass access grants (a red flag for insider threats) and can export reports for compliance audits. For regulated industries like healthcare or finance, this feature is a must-have for meeting GDPR or HIPAA requirements.
Ideal for IT admins and compliance officers, audit logs turn reactive security into proactive protection—catching issues before they escalate. 💡