
Software
Mastering Microsoft Word 2010 starts with understanding its core components. This guide breaks down the essential parts of the Word 2010 window, helping you navigate menus, toolbars, and hidden features like a pro for efficient document creation.
Quick Access Toolbar Customization Options
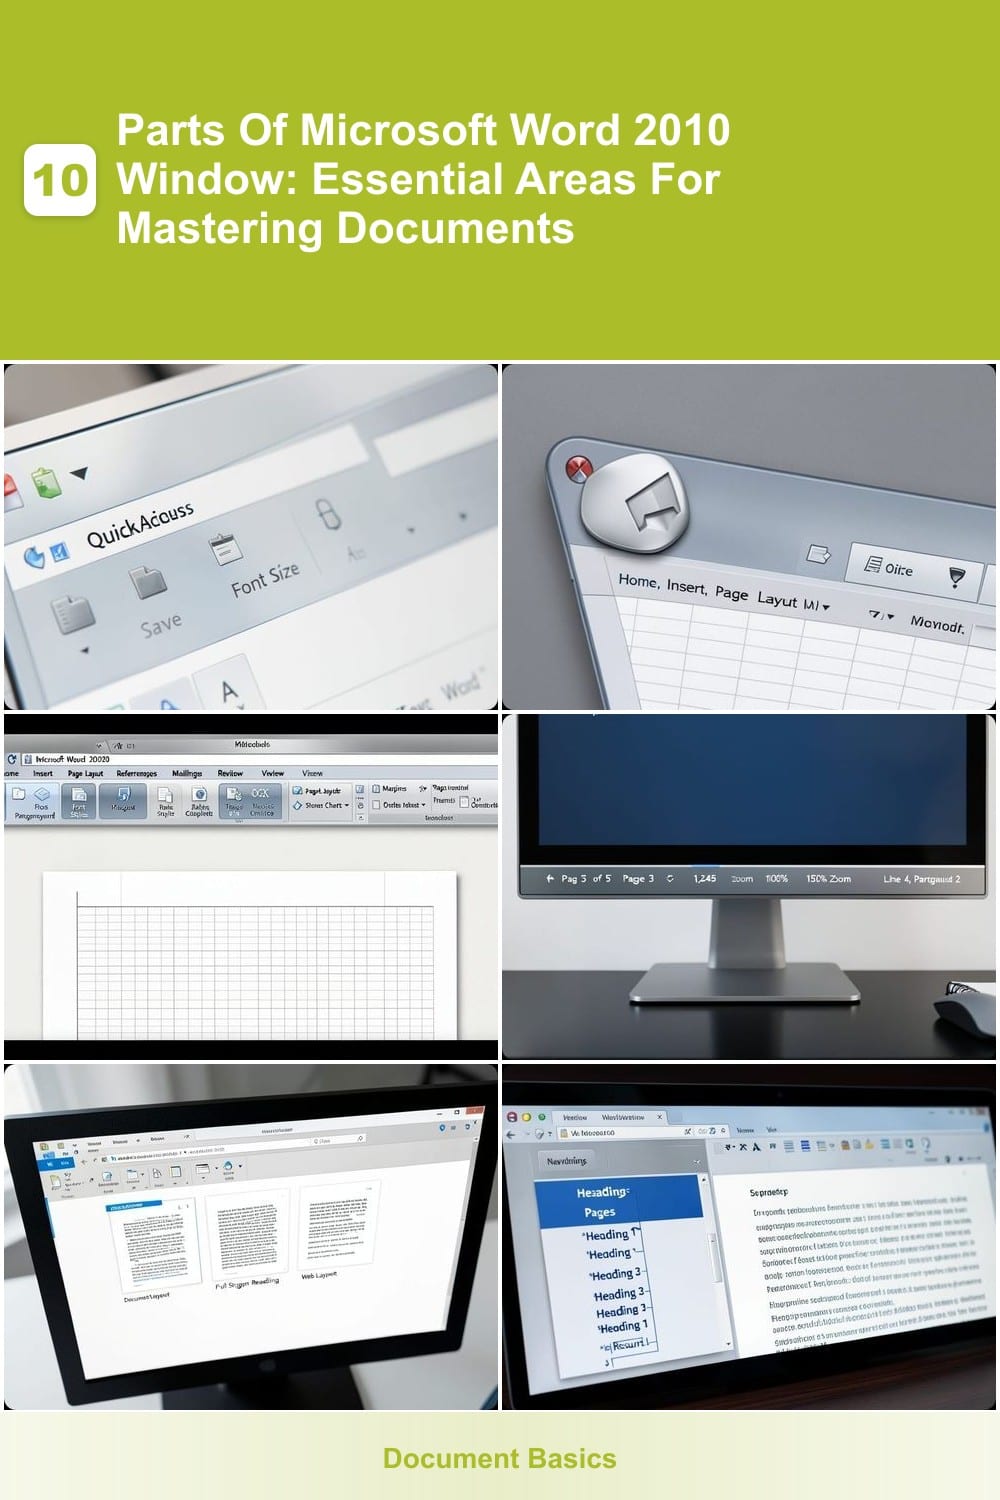
Want to cut down on repetitive clicks while working in Microsoft Word 2010? The Quick Access Toolbar lets you pin your most-used commands—like Save, Undo, or Font Size—right at the top of the window, always visible no matter which ribbon tab you're on. This compact toolbar sits above the ribbon and adapts to your workflow, eliminating the need to hunt through menus.
Customizing it is simple: click the dropdown arrow to add commands from the ribbon, or choose from built-in options like Quick Print, Show/Hide Paragraph Marks, or Reset Toolbar. You can even add macros or custom groups for advanced users. The toolbar remembers your settings, so it’s ready every time you open Word—no setup required.
Perfect for busy professionals, students, or anyone who frequently uses the same commands, this feature turns Word 2010 into a truly personalized workspace. ⚡
Office Button Menu Functions
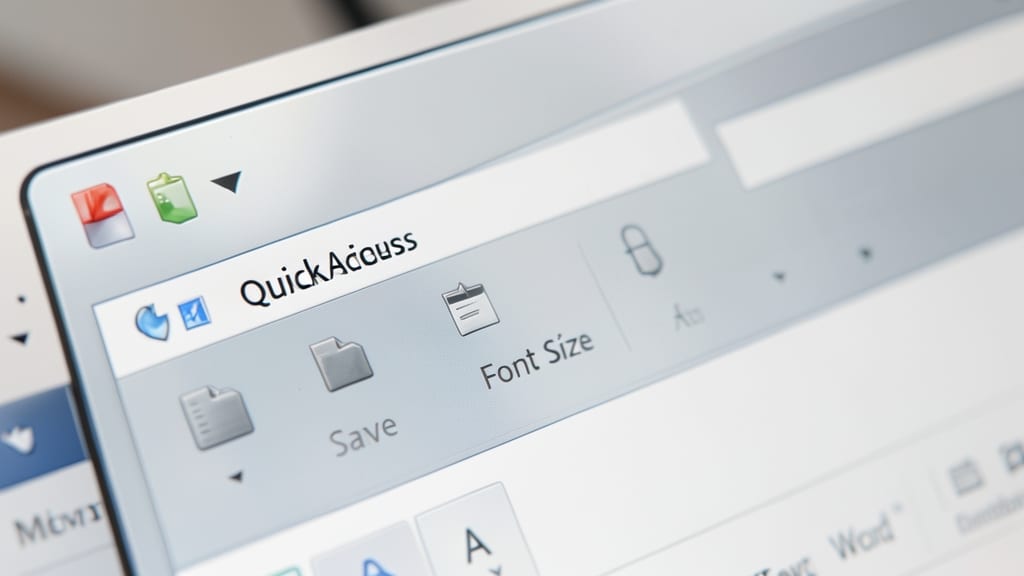
Miss the familiar File menu from older Word versions? Microsoft Word 2010 replaced it with the Office Button—a sleek, centralized hub for all your essential file and program tasks. This icon (the Microsoft logo) sits in the top-left corner, replacing the traditional dropdown menus and making document management more intuitive.
Clicking the Office Button reveals a dropdown menu with core functions like New, Open, Save, Print, and Prepare (for document protection and sharing). It also gives quick access to Word Options for customizing settings and Exit to close the program. Unlike the Quick Access Toolbar, this menu stays consistent across all ribbon tabs, ensuring you never have to hunt for critical actions.
Perfect for students, professionals, and casual users, this feature streamlines workflows by keeping file operations just one click away—no more digging through nested menus. ⚡
Ribbon Interface Navigation System
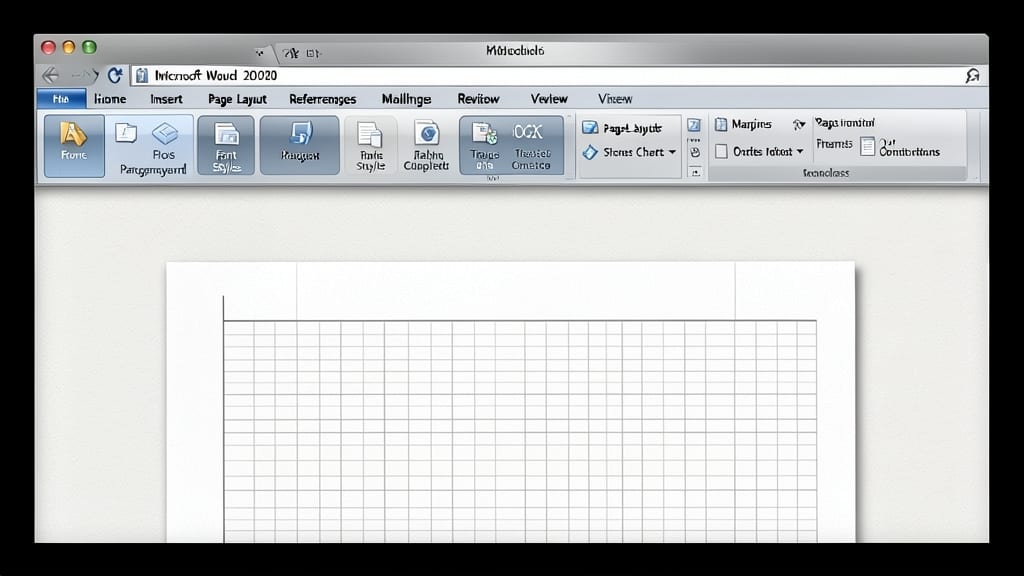
Tired of hunting through nested menus? Microsoft Word 2010’s Ribbon Interface revolutionizes document creation by grouping commands into seven intuitive tabs—Home, Insert, Page Layout, References, Mailings, Review, and View. Unlike older toolbars, this system organizes tools by task, so formatting options live alongside the Home tab while design tools appear under Page Layout.
The Home tab alone packs a punch with the Font group (bold, italics, colors), Paragraph group (alignment, bullets), and Styles gallery for instant professional formatting. Need a table? Head to the Insert tab for seamless integration. The Mini Toolbar (covered later) even lets you access key formatting tools without leaving your cursor. Keyboard shortcuts like Alt + H (Home) or Alt + I (Insert) let you navigate the Ribbon hands-free.
This system shines for academic writers organizing research papers or business professionals designing reports. The logical grouping reduces clicks and speeds up workflows—perfect for users upgrading from older Word versions. ✨
Status Bar Information Display
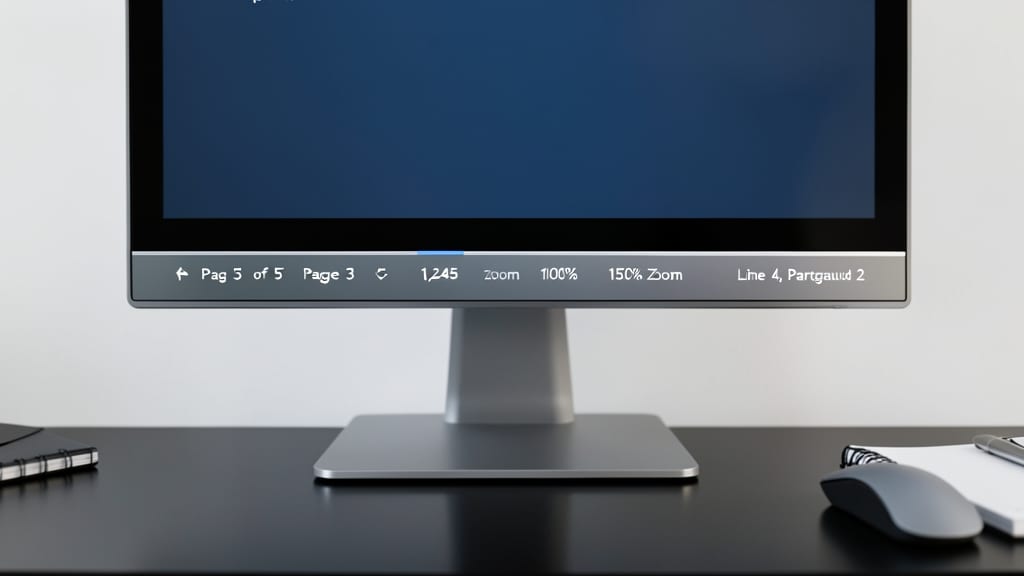
Need quick feedback on your document without switching screens? The Status Bar in Microsoft Word 2010 delivers real-time stats—like page count, word count, and zoom level—right at your fingertips.
Located at the bottom of the window, this unassuming strip also shows your current position (e.g., "Page 1 of 3") and language settings. Click the zoom slider to adjust magnification instantly, or toggle view options like Draft or Print Layout with a single click. It’s the perfect spot for tracking progress without interrupting your workflow.
Students, writers, and professionals will love this feature for its efficiency—no extra windows needed. ⚡
Document View Options
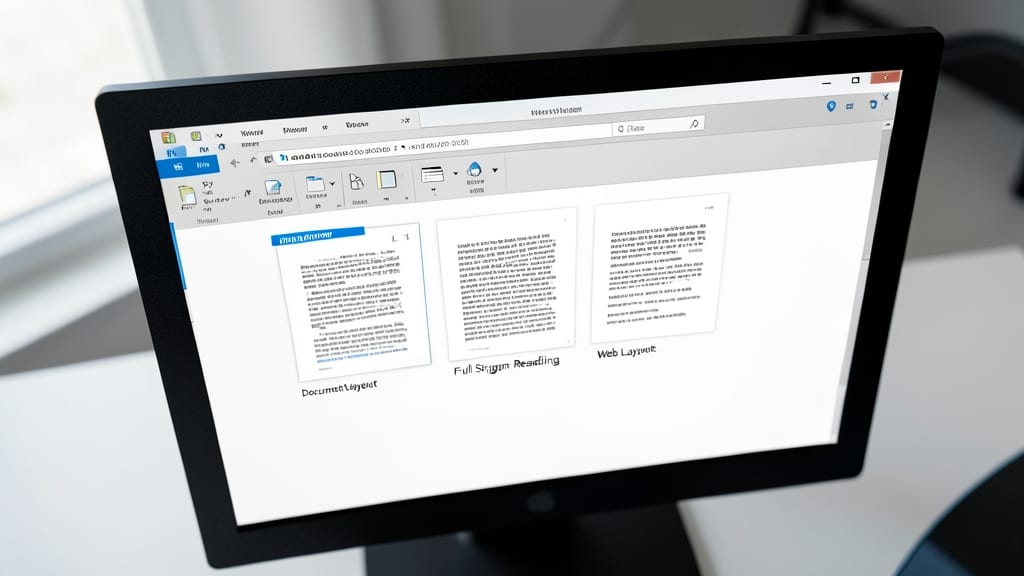
Tired of squinting at tiny text or struggling with page breaks? Word 2010’s Document View Options let you switch between three distinct layouts to match your task. Whether you’re proofreading a novel or designing a brochure, the right view makes all the difference.
Access it via the View tab, where you’ll find Print Layout (for traditional page-by-page editing), Full Screen Reading (distraction-free mode with customizable font size), and Web Layout (ideal for web-friendly formatting). Each view preserves your document’s integrity while optimizing visibility—no more guessing whether margins look correct or text is legible.
Perfect for academics drafting research papers, designers tweaking layouts, or casual users who just want to read comfortably. Try toggling between views to see which fits your workflow best! ✨
Navigation Pane Features
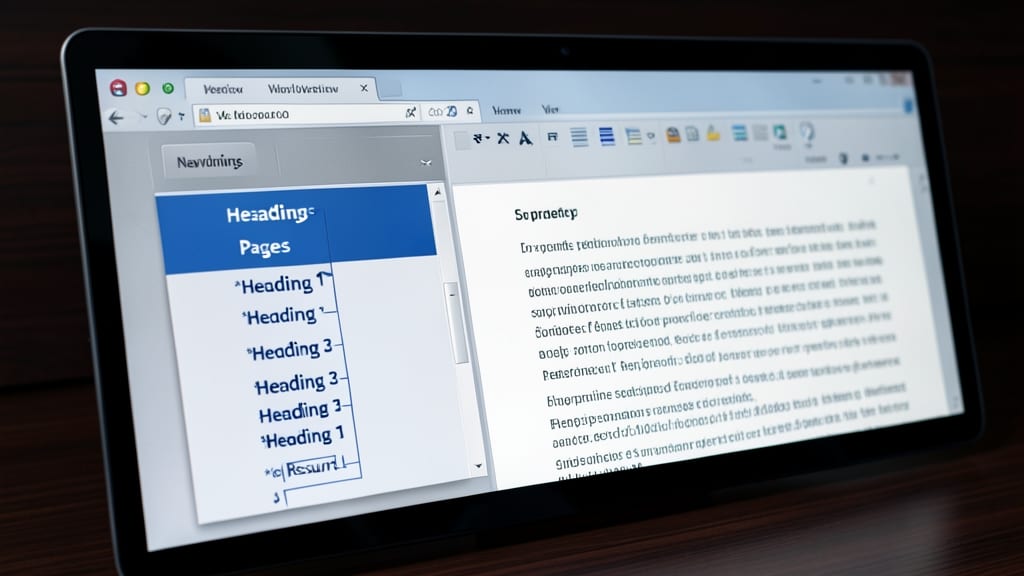
Struggling to find your way through a 50-page report or a document packed with headings? The Navigation Pane in Microsoft Word 2010 is your secret weapon for effortless jumping between sections.
This powerful tool sits on the left side of your screen and offers three key views: Headings (for quick jumps to major sections), Pages (to navigate by visual page layout), and Results (for searching specific terms). With just a click, you can skip straight to the Introduction or Conclusion—no more endless scrolling! The pane also supports bookmarks and table of contents navigation, making it ideal for legal, academic, or technical documents.
Perfect for researchers, editors, and professionals working with lengthy documents, this feature saves hours of manual searching. ⚡
Mini Toolbar Contextual Tools
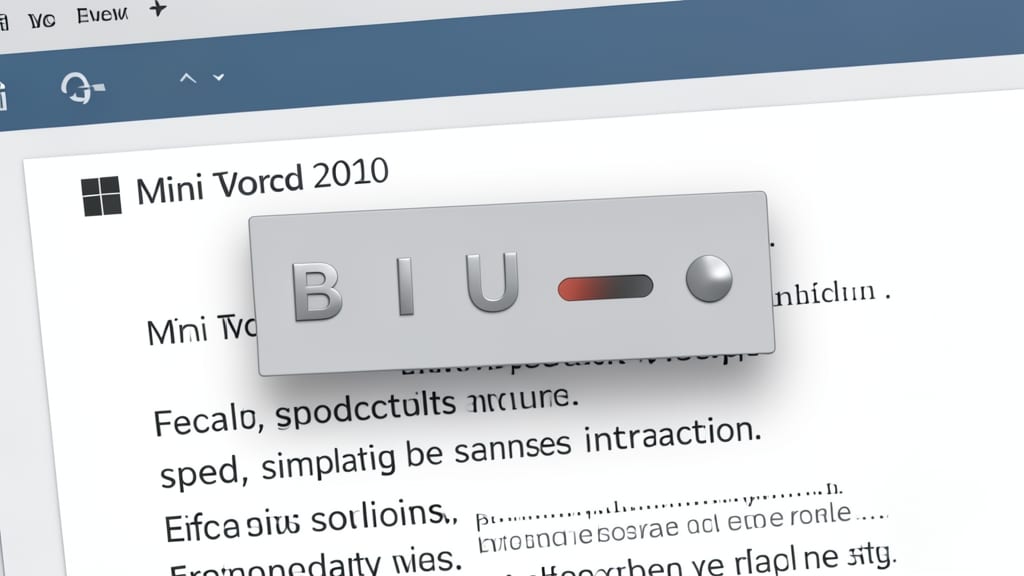
Tired of clicking through the ribbon every time you need to format text? The Mini Toolbar in Word 2010 appears instantly when you select text, offering a floating menu for bold, italics, underline, font color, and bullet points—all in one click.
This lightweight toolbar saves time by eliminating ribbon navigation, especially useful for quick edits. It also includes handy options like changing font size or aligning text without leaving your cursor’s position. Simply select text, and the toolbar pops up automatically.
Perfect for students, professionals, or anyone who frequently formats text, the Mini Toolbar keeps your workflow smooth and efficient. ✨
Document Zoom Controls
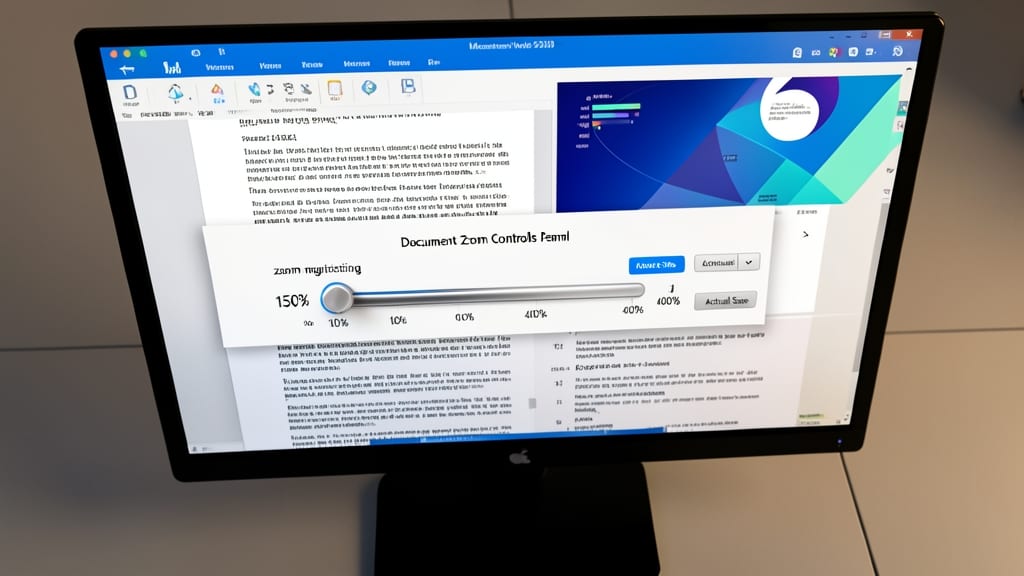
Need to edit a legal contract or design a multi-layered infographic? Microsoft Word 2010’s Document Zoom Controls let you adjust your view from 10% to 400%—perfect for precision work where every pixel matters. Unlike basic zoom tools, this feature includes a slider for smooth adjustments and a dropdown menu for exact percentages.
Access it via the View tab or use the Ctrl+Mouse Wheel shortcut for instant zooming. The status bar also displays your current zoom level, making it easy to track changes. For intricate layouts, this tool ensures you never miss fine details—whether you’re aligning elements or reviewing microcopy.
Ideal for designers, lawyers, and technical writers, this feature transforms Word from a basic editor into a precision instrument. ⚡
Document Properties Panel
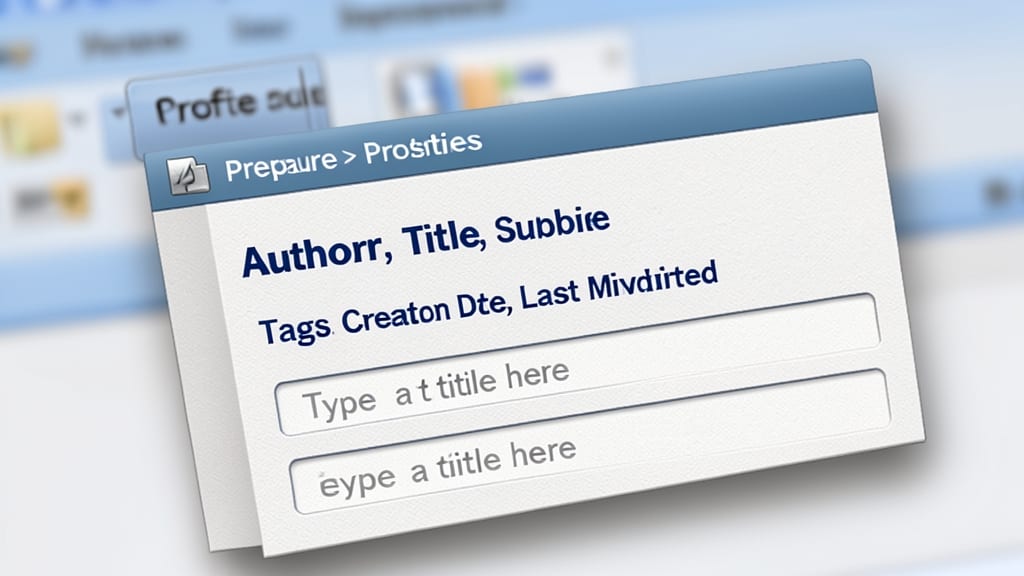
Ever wasted time digging through file properties or guessing who last edited a document? The Document Properties Panel in Word 2010 solves that with a single click. Accessible via the Office Button > Prepare > Properties, this panel centralizes metadata like author, title, subject, and creation date—all in one place.
Beyond basic details, it tracks document statistics (page count, word count) and lets you add custom fields like keywords or category tags. Perfect for professionals managing multiple drafts or sharing files with collaborators, this panel ensures consistency and clarity without leaving Word. ⚡
View Shortcuts Menu
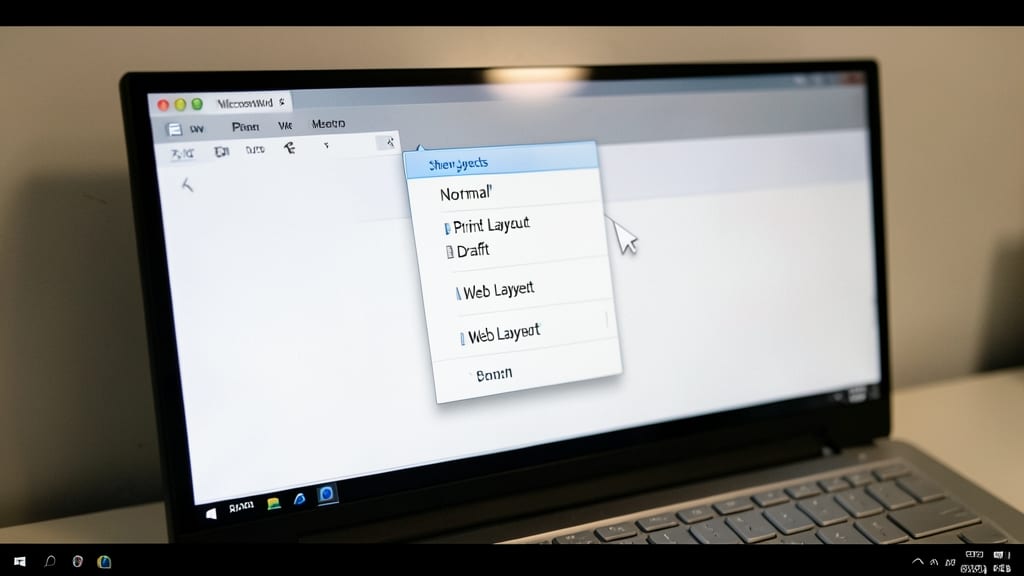
Tired of hunting through menus to adjust your document’s layout? The View Shortcuts Menu in Word 2010 lets you switch between Normal, Print Layout, Draft, and Web Layout modes in seconds—no more wasting time digging through settings.
Access it via View > Shortcuts Menu (or press Alt+W, then V, S) to instantly toggle rulers, gridlines, or even page breaks visibility. This hidden gem is perfect for proofreading (Draft mode) or fine-tuning layouts (Print Layout) without cluttering your workspace.
Ideal for legal professionals, designers, and students, this tool ensures you’re always viewing your document exactly how you need it—no extra clicks required. ✨