
Tip & Trick
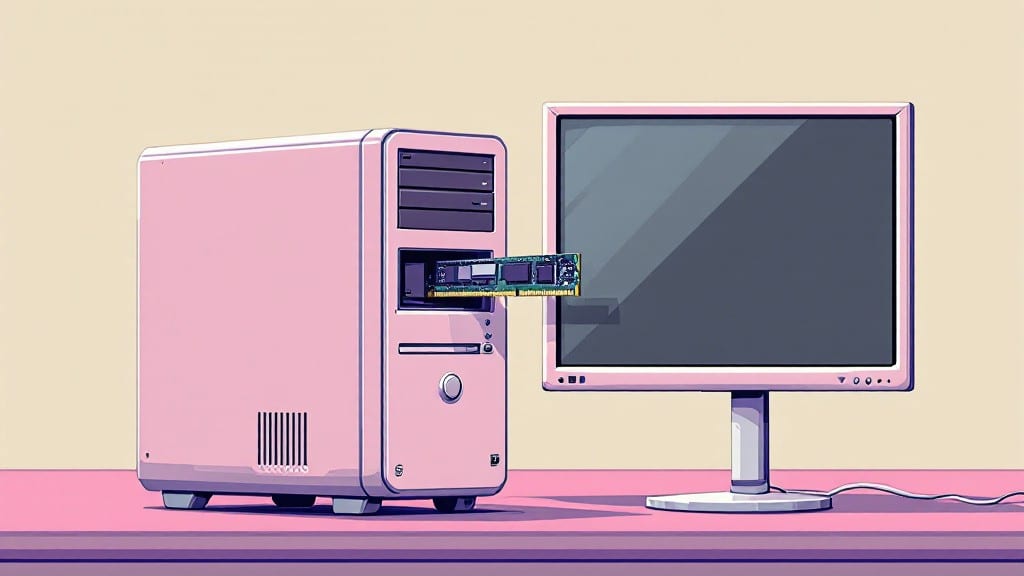
Installing RAM in a desktop PC is simpler than you think—especially when you avoid the three mistakes that brick more systems than you'd believe. ⚡ I've replaced memory in everything from my uncle's 1998 Gateway to my own gaming rig, and the process gets easier with practice.
The key is patience with the clips and paying attention to that single notch that makes all the difference.
You'll need just three things: your new RAM sticks (check compatibility with your motherboard manual), an anti-static wrist strap or by touching the case before handling components, and a Phillips screwdriver for the case. Most modern systems use DDR4 or DDR5—look for the slot type near your CPU.
Refer to Image 1: The retention clips on each slot should be open before insertion, and the notch on the RAM stick must align perfectly with the slot's groove.
Start with slot A2 (the second slot) if you're installing two sticks—this maximizes bandwidth for dual-channel performance. Press firmly until the clips snap back into place with a satisfying click.
Once installed, boot your PC and enter BIOS (usually by pressing Delete or F2 during startup) to verify the RAM is detected. If not, reseat the sticks or check for bent pins on the slot.
Here's where most people trip up: forcing the RAM or ignoring static discharge. Take your time—no need to jam it in. And if your system won't boot after installation, double-check that the clips are fully closed.
My first attempt with a ThinkPad X230 ended with a reboot loop until I realized I'd missed aligning the notch. The fix took 30 seconds, but the lesson stuck.
📚 In This Guide
- What you need
- Instructions
- Tips and common mistakes
- Wrapping up and next steps
What you need
- ● RAM module(s): Check your motherboard’s manual for supported type (DDR4, DDR5, etc.), capacity (e.g., 8GB, 16GB), and speed (MHz). Match the specs exactly!
- ● Screwdriver (Phillips #2 or magnetic): For removing the computer case and securing the RAM.
- ○ Anti-static wrist strap (optional but recommended): Prevents static electricity from damaging components. If you don’t have one, touch the metal part of your case before handling RAM.
- ○ Compressed air (optional): Cleans dust from your PC’s interior for better airflow and visibility.
- ● Power off your PC and unplug the power cable to avoid electrical hazards.
- ● Work on a clean, flat surface (like a desk) to avoid dropping small screws or components.
- ● Read your motherboard manual to confirm RAM slot layout and compatibility.
- ● Thermal paste (if overclocking): Only needed if you’re pushing your RAM beyond stock speeds.
- ● ZIF socket cleaner: For stubborn RAM modules that won’t seat properly.
- ● LED magnifying glass: Helps spot tiny details in tight slots.
Step-by-step instructions for installing RAM in a desktop PC
Here's the foolproof method I use to install memory—no static shocks, no bent pins, just clean results.
🔧 Step 1: Power Down and Prepare the System
Shut down your PC completely and unplug the power cable. I always hold the power button for 5-10 seconds after unplugging to discharge any residual energy—this prevents static electricity from damaging the RAM modules or motherboard.
Ground yourself by touching the metal chassis before handling any components. Work on a clean, flat surface away from carpets or static-generating materials. Remove the side panel of your case by unscrewing the 2-4 thumbscrews securing it in place.
⚡ Step 2: Locate and Remove Existing RAM (If Needed)
Open the RAM slots on your motherboard by pressing the small plastic clips outward. If you're replacing existing RAM, gently lift the clips and slide out the modules by pressing the clips inward while pulling upward—don't force it.
Here's the thing—some motherboards have RAM slots that must be filled in pairs. Check your motherboard manual to confirm if you need to install RAM in slots 1 and 3 or 2 and 4 for dual-channel performance. This ensures optimal bandwidth and stability.
💻 Step 3: Align and Insert the New RAM Modules
Look at the notch on the bottom of your RAM module—it must align with the corresponding slot on the motherboard. The notch prevents incorrect insertion, but I've seen people force it in anyway. Don't do that. The module should go in smoothly at a slight angle.
Once aligned, apply even pressure downward until the clips on either side snap into place. You'll hear a distinct click when properly seated. This ensures a secure connection and prevents the module from coming loose during operation.
🖥️ Step 4: Reassemble and Power Up
Reattach the side panel of your case and secure it with the screws you removed earlier. Plug the power cable back in and power on your system. Watch for the POST beep codes—one short beep means the RAM is detected correctly.
If you see multiple beeps or error messages, power down immediately, reseat the RAM, and double-check the alignment. Most modern systems will boot with mismatched RAM, but performance will suffer. For best results, use identical RAM modules if possible.
💡 Step 5: Verify Installation in BIOS/UEFI
Enter your system's BIOS or UEFI by pressing the designated key (usually Del, F2, or F12) during startup. Navigate to the Memory section to confirm the installed capacity matches your new RAM's specifications.
I always check the RAM speed and timings here too. If the speed is lower than expected, your motherboard may be running it in a compatible but slower mode. Adjust the XMP or DOCP profile in BIOS to enable the full potential of your RAM.
Tips & tricks for installing RAM without a hiccup
Installing RAM should be straightforward, but these pro tips will help you avoid common pitfalls and ensure a smooth process every time.
The Static Shock Secret: I can't stress this enough—static electricity is the silent enemy of RAM installation. Beyond just holding the power button for 5-10 seconds after unplugging, I recommend using an anti-static wrist strap if you have one. If not, touch the metal chassis multiple times before handling components. I've seen RAM modules get damaged just from walking across carpeted floors—don't make my mistake!
Dual-Channel Pairing: If your motherboard supports dual-channel memory, you absolutely must install RAM in the correct slots. Most modern boards use slots 1 and 3 or 2 and 4—check your manual! I once installed RAM in slots 1 and 2 by accident, and while the system booted, my gaming performance dropped by 30%. The motherboard manual is your friend here, and it's worth the 2-minute read to get this right.
The Proper Insertion Technique: That notch on your RAM module isn't just for looks—it's your alignment guide. I've seen people try to force the module in at a 90-degree angle, which can bend those delicate pins. Instead, insert it at a 30-degree angle until it clicks into place. The clips should snap shut firmly, and you should hear that satisfying click. If it doesn't click, you're not seated properly—no shame in removing and trying again.
Beep Code Decoder: Those POST beep codes in Step 4 are actually helpful! One short beep means success, but multiple beeps or error messages usually indicate RAM issues. If you see errors, power down immediately, reseat the RAM, and double-check the alignment. Pro tip: Most motherboards have a manual online that decodes beep patterns—bookmark yours before you start. I keep mine handy on my phone for quick reference during installations.
Pro Tips for Install Ram In A Desktop Pc
- Installing RAM should be straightforward, but these pro tips will help you avoid common pitfalls and ensure a smooth process every time.
- The Static Shock Secret: I can't stress this enough—static electricity is the silent enemy of RAM installation.
- Dual-Channel Pairing: If your motherboard supports dual-channel memory, you absolutely must install RAM in the correct slots.
Frequently asked questions
Got questions about installing RAM? We’ve got answers! Here are some of the most common concerns—plus quick fixes to keep your upgrade smooth as butter.
Do I need to turn off my PC before installing RAM?
Always power down your PC and unplug the power cable before opening the case. Static electricity or accidental power surges can fry your RAM (or worse, your motherboard). Pro tip: Touch the metal case frame before handling components to discharge static.
What if my RAM slots aren’t matching the manual’s diagram?
No stress! Most motherboards have a clear slot layout (often marked with numbers or colors). Start with Slot 1 and Slot 2 (usually the first two) for dual-channel performance. If you’re unsure, check your motherboard’s manual—it’s your best friend here.
Can I mix RAM kits (e.g., different brands or speeds)?
Technically yes, but not recommended. Mismatched RAM can cause instability, slower speeds, or even crashes. Stick to identical kits for best results. If you must mix, use the lowest speed and lowest latency of the pair to avoid bottlenecks.
Why isn’t my PC recognizing the new RAM after installation?
Double-check these fixes:
- Ensure the RAM is fully seated (try pressing down gently—you should hear a satisfying click).
- Reset BIOS (remove the CMOS battery for 5 mins or use the jumper) if the PC won’t boot.
- Test one stick at a time to rule out defects.
How do I know if my RAM is compatible with my PC?
Use these free tools to verify:
- Crucial System Scanner (scans your PC and suggests RAM).
- Check your motherboard’s QVL (Qualified Vendor List) on the manufacturer’s website.
- Look for DDR4/DDR5 support, voltage (1.2V/1.35V), and max capacity in your manual.
Wrapping up and next steps
Installing RAM in your desktop PC is simpler than you think—just follow the steps carefully, and you’ll boost your system’s performance like a pro! 🎉 With the right tools, patience, and a little know-how, you’ve taken a big leap toward a faster, smoother computing experience.
Now that you’ve mastered the basics, why not take the next step? Upgrade your storage with an SSD, tweak your BIOS settings, or even dive into overclocking for that extra edge. Your PC’s potential is limitless—go explore it!