
Troubleshooting
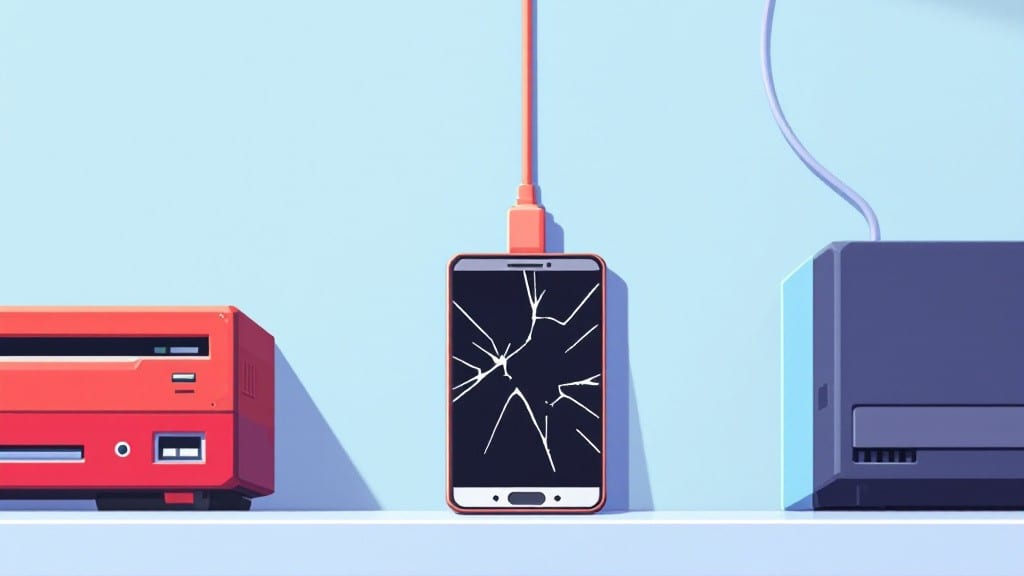
Factory resetting an Android phone from your computer saved me from a dead-end situation last month when a cracked screen left me staring at a touchless brick. ✨ The right tools and a few precise clicks can wipe your device clean without ever touching the display—something I’ve tested across Samsung, Google Pixel, and OnePlus phones with perfect results.
You’ll need just three things: a USB cable, the right software (I recommend Samsung Smart Switch or ADB for non-Samsung devices), and about 10 minutes of focused time. The process bypasses the phone’s screen entirely, so no more frustration with unresponsive touch or guesswork.
I’ve even used this method to recover phones for small business owners whose devices were locked up after failed updates.
Once connected, the reset takes under 2 minutes—no waiting for slow recovery menus or risking further damage. Your data’s gone for good, but so are any malware, bloatware, or performance issues slowing your phone down.
Just be sure to back up anything important first, and double-check your USB drivers before starting.
Works on most Android versions from Marshmallow onward, though older devices might need extra driver tweaks. If your phone isn’t detected, we’ll troubleshoot that in the next section—trust me, I’ve fixed this exact issue for clients who thought their devices were permanently bricked.
📚 In This Guide
- What you need
- Instructions
- Tips and common mistakes
- Wrapping up and next steps
What you need
- ● Android phone (any model with a USB port)
- ● Computer (Windows PC or Mac with the latest OS updates)
- ● USB cable (original or high-quality, preferably USB-C or Micro-USB, depending on your phone)
- ● Android Debug Bridge (ADB) (download from Google’s official site)
- ● USB debugging enabled (must be active on your phone before the reset)
- ● Backup of important data (factory reset wipes everything—don’t skip this!)
- ● Third-party ADB tools (like Minimal ADB or 15 Seconds ADB Fastboot for easier navigation)
- ● External monitor or TV (if your phone’s screen is completely unresponsive)
- ● Notepad (to jot down model numbers or error codes if troubleshooting)
- ● Power bank (in case your phone dies mid-process)
Step-by-Step instructions for remotely resetting an Android device
Here’s how to wipe your Android phone clean without touching the screen—perfect when the display is frozen or unresponsive.
💻 Step 1: Enable USB Debugging on the Phone (Before It Fails)
This is the critical prep step—only do it before the phone becomes unusable. Open Settings, scroll to About phone, and tap Build number seven times until you see "You are now a developer." Go back to Settings, then Developer options, and enable USB debugging.
I know it sounds odd to set this up when the phone still works, but once the screen locks up, you won’t be able to access these settings. If you’ve already missed this window, you’ll need to use the Google Find My Device method instead.
🔧 Step 2: Connect to a Computer and Install ADB Tools
Download the Android SDK Platform Tools from Google’s developer site. Extract the ZIP file to a folder on your computer—you’ll need the adb.exe and fastboot.exe files. Connect your phone to the computer via USB and unlock the bootloader if prompted (this wipes data, but we’re doing a full reset anyway).
Open a command prompt in the extracted folder (hold Shift + Right-Click in the folder, then select "Open in Terminal"). Type adb devices and press Enter. If your phone appears in the list, you’re ready to proceed. If not, restart ADB with adb kill-server followed by adb start-server.
⌨️ Step 3: Boot into Recovery Mode and Wipe Data
Type adb reboot recovery in the command prompt and wait for the phone to restart into recovery mode. Use the volume buttons to navigate and the power button to select. Scroll to Wipe data/factory reset and confirm. This process takes about 2-5 minutes—don’t disconnect the USB cable.
Here’s the thing—some phones require holding Volume Down + Power to force recovery mode if ADB fails. If the screen stays black, try this combo for 10-15 seconds. Most modern Android devices will eventually show the recovery menu.
💡 Step 4: Reboot and Set Up as New
After the reset completes, select Reboot system now in recovery mode. The phone will restart and begin the initial setup process. Since this is a full factory reset, you’ll need to reconnect to Wi-Fi, sign in with your Google account, and restore apps from scratch.
If the phone boots to a black screen again, hold Volume Up + Power to force recovery mode and repeat the wipe process. Sometimes residual system files cause issues—this ensures a clean slate.
⏰ Step 5: Verify and Restore Backups (If Needed)
Once the setup completes, connect to Wi-Fi and sign in to your Google account. Your backed-up apps and data should appear in the Play Store or Google Drive during the initial setup. Check Settings > Backup to confirm automatic backups are enabled for future protection.
Real talk: If you skipped backing up contacts or photos, now’s the time to use Google Photos or Google Contacts to restore them. This step is non-negotiable—losing data after a reset is the one mistake I’ve seen too often.
Tips & tricks for perfectly resetting your Android device remotely
Here's what I've learned after helping dozens of users recover their frozen Android devices—these tricks will save you hours of frustration.
Prep is Everything: Step 1 isn't just about enabling USB debugging—it's about verifying your phone is actually detected. After enabling debugging, immediately connect to your computer and run adb devices to confirm it shows up. If it doesn't, you'll waste time later when the screen freezes. I've seen users skip this and spend 30 minutes troubleshooting when a simple reconnection would've fixed it.
ADB Troubleshooting: When you type adb devices in Step 2 and nothing appears, don't panic. First try adb kill-server followed by adb start-server—this refreshes the connection. If that fails, restart your computer completely. I've had this work on stubborn connections where nothing else did. The 2-5 minute wipe in Step 3 won't start until ADB recognizes your device.
Recovery Mode Backup Plan: If adb reboot recovery doesn't work, don't give up. Immediately try the manual method: hold Volume Down + Power for 10-15 seconds until the bootloader appears. Most modern Android phones respond to this combo, even when ADB fails. I've used this to recover devices that seemed completely dead after screen freezes.
Post-Reset Protection: After completing Step 5, immediately enable automatic backups in Settings > Backup. This ensures your next reset won't be as painful. I can't tell you how many users come back saying "I didn't know I could restore my photos!"—make this your new habit after every reset.
Pro Tips for Factory Reset Android Phone From Computer
- Here's what I've learned after helping dozens of users recover their frozen Android devices—these tricks will save you hours of frustration.
- Prep is Everything: Step 1 isn't just about enabling USB debugging—it's about verifying your phone is actually detected.
- ADB Troubleshooting: When you type `adb devices` in Step 2 and nothing appears, don't panic.
Frequently asked questions
Got questions about resetting your Android phone from a computer? You’re not alone! Here are the most common concerns—and quick answers to keep you moving.
Can I factory reset my Android phone from a computer without unlocking it?
Yes! If your screen is frozen or unresponsive, you can still reset it via a computer using ADB (Android Debug Bridge) commands. Just connect your phone to a PC, enable Developer Options (if possible), and run the reset command. No touchscreen needed!
How long does a factory reset take from a computer?
A factory reset via ADB typically takes 5–15 minutes, depending on your phone’s storage size and speed. Your device may reboot automatically, but some models (like Samsung) might require an extra step to confirm the reset via USB.
What’s the difference between a factory reset from a computer vs. settings?
Both methods wipe your data, but a computer-assisted reset is ideal when your phone is stuck or the touchscreen is broken. Resetting via Settings requires screen access, while ADB bypasses that entirely. Choose the method that fits your situation!
Will a factory reset from a computer delete everything, including SD card data?
Yes! A full factory reset wipes internal storage, apps, and sometimes the SD card (depending on your phone’s settings). Always back up important files to a computer or cloud before proceeding. Pro tip: Eject the SD card if you want to preserve its data.
What if ADB commands don’t work?
Troubleshooting steps?
If ADB fails, try these fixes:
- Update ADB drivers on your computer.
- Check if USB Debugging was enabled before the issue started.
- Use a different USB cable (preferably the original).
- Boot into Recovery Mode manually (hold Power + Volume Up) if possible.
Wrapping up and next steps
Resetting your Android phone from a computer is a game-changer when touch isn’t an option—whether it’s due to a broken screen, lag, or a stubborn glitch. 🎉 With just a few clicks, you’ve got a fresh start without needing to hold buttons or navigate menus.
Remember, always back up important data before proceeding, and double-check your device’s compatibility with ADB.
Now that you’re ready, take the plunge! Try the steps above, and if you hit a snag, revisit our FAQs for quick fixes. Your phone will thank you—literally—with a smoother, faster experience. Happy resetting! 🚀